How to Properly Season a Cast Iron Skillet for Non-Stick Cooking
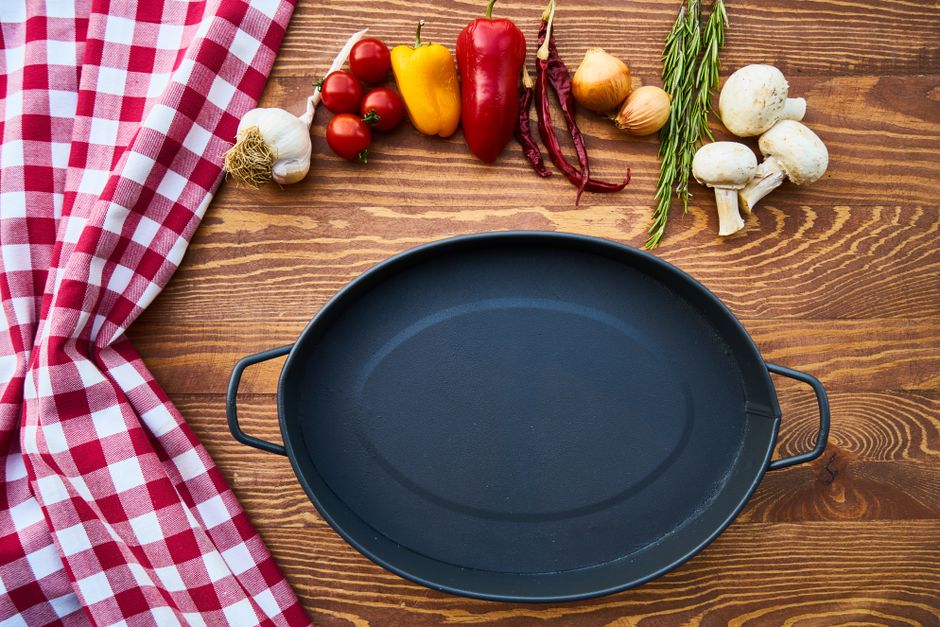
Seasoning a cast iron skillet is a process that transforms raw iron into a durable, naturally non-stick cooking surface. This technique involves applying layers of oil and heating them to the point of polymerization, where the oil bonds to the metal and forms a smooth, hardened coating. Unlike synthetic non-stick coatings, a well-seasoned skillet improves with use and can last for generations. Many cast iron skillets, including those from Kitchen Craft, come pre-seasoned from the manufacturer, but additional seasoning steps can further enhance performance and longevity.
The purpose of seasoning goes beyond non-stick properties. The polymerized layer also protects the iron from moisture and oxygen, preventing rust and corrosion. Over time, the seasoning absorbs subtle flavors from the foods cooked in the pan, contributing to a distinctive taste that many home cooks appreciate. Understanding how this process works and how to repeat it correctly allows anyone to maintain a skillet that performs reliably for years.
Understanding the Science of Seasoning
At the molecular level, seasoning is a chemical reaction known as polymerization. When a thin layer of oil is heated past its smoke point, the long fatty acid chains break apart and reorganize into a hard, plastic-like coating. This coating bonds to the porous surface of the cast iron, filling microscopic gaps and creating a relatively smooth finish. The more layers applied, the thicker and more resilient the seasoning becomes.
The type of oil used influences the final result. Oils with high saturated fat content, such as flaxseed, grapeseed, or canola oil, tend to polymerize more effectively and produce a harder coating. Oils with lower smoke points, like extra virgin olive oil, can burn before fully polymerizing, leaving a sticky or brittle residue. The process does not guarantee immediate non-stick performance; multiple thin layers and proper heat management are required to build a stable surface over time.
Preparing the Skillet for Seasoning
Before applying any oil, the skillet must be clean and dry. If the skillet is new and has a factory coating, a quick wash with warm water and a mild dish soap removes any residue from manufacturing. If the skillet has old, flaking, or uneven seasoning, it may need to be stripped completely. This can be done by scrubbing with a steel wool pad and a small amount of soap, or by using a self-cleaning oven cycle. Alternatively, a mixture of water and coarse salt can be used as a gentle abrasive.
After cleaning, the skillet should be thoroughly dried. Placing it on a stovetop burner over low heat for a few minutes removes all moisture from the surface and from the pores of the metal. Any remaining water droplets will interfere with the bonding of the oil and can cause rust spots during the heating process. Once the skillet is completely dry, it should be allowed to cool slightly before oil is applied.
Selecting the Right Oil
The choice of oil plays a significant role in the quality of the seasoning. Flaxseed oil is often recommended for its high alpha-linolenic acid content, which polymerizes into a very hard and durable coating. However, it can be prone to flaking if applied in overly thick layers or if the temperature is not precisely controlled. Grapeseed oil offers a good balance of high smoke point and a neutral flavor, making it a popular alternative. Canola oil and vegetable oil are also commonly used due to their availability and stable polymerization properties.
Oils with low smoke points, such as butter, coconut oil, or unrefined olive oil, are less suitable because they tend to smoke and burn before the polymerization process completes. The resulting coating may be sticky or soft, which can attract dust and make the skillet difficult to clean. For best results, an oil with a smoke point above 400°F (204°C) should be selected. The oil should also be free of additives or flavorings that could leave unwanted residues.
The Seasoning Process Step by Step
Applying seasoning requires patience and attention to detail. The following steps outline a common oven-based method that provides consistent, even results. The stove-top method is also possible but requires more careful temperature control to avoid hot spots.
- Preheat the oven to a temperature between 400°F and 500°F (204°C to 260°C), depending on the smoke point of the chosen oil. Place a sheet of aluminum foil on the bottom rack to catch any drips.
- Apply a very thin layer of oil to the entire skillet, including the handle and the exterior. Using a paper towel or a lint-free cloth, rub the oil into the surface as if trying to wipe it off. The goal is a barely visible sheen, not a puddle of oil.
- Place the skillet upside down on the middle rack of the oven. This orientation prevents oil from pooling inside the cooking surface, which would lead to uneven seasoning.
- Bake the skillet for one hour. After the hour, turn off the oven and allow the skillet to cool completely inside the oven. Rapid cooling can cause the seasoning to crack or peel.
- Repeat the process three to four times to build a solid foundation. Additional layers can be applied later as needed, especially in areas that show signs of wear.
The cooling step is critical because it allows the polymerized coating to fully harden. Skipping the cooling period or removing the skillet while still hot may disturb the bonding. Over time, the seasoning will darken and become more uniform with regular cooking. The process does not produce an instant mirror-like finish, but rather a gradual improvement in non-stick performance.
Maintaining the Seasoning Over Time
Once the skillet is seasoned, daily care directly influences how long the coating lasts. After each use, the skillet should be cleaned while still warm. A stiff brush or a non-abrasive sponge with a small amount of warm water is usually sufficient to remove food particles. Mild dish soap can be used in small quantities; modern soaps do not contain lye and will not strip seasoning if used sparingly. The skillet should then be dried immediately over low heat to prevent rust.
After drying, a very thin layer of oil can be applied to the cooking surface before storing. This step helps maintain the moisture barrier and keeps the seasoning in good condition. Heavy scrubbing with steel wool should be avoided on a well-seasoned surface, as it can remove the polymerized layer. If food sticks or the surface appears dull, a single stovetop seasoning session can restore the non-stick properties without the need for a full oven cycle.
Troubleshooting Common Seasoning Issues
Even with careful technique, some problems can arise. A sticky or tacky coating usually indicates that the oil was applied too thickly or that the temperature was not high enough to fully polymerize the oil. The solution is to heat the skillet at a higher temperature for a longer period, or to remove the sticky layer by scrubbing and then re-seasoning with thinner coats.
Flaking or peeling typically occurs when different types of oil are layered without proper bonding, or when the skillet was overheated in localized areas. In such cases, the loose seasoning should be removed with a metal scrubber, and the skillet should be re-seasoned from scratch. Rust spots appear when the skillet is left damp or when the seasoning is thin in certain areas. The rust can be removed with a fine abrasive, and the area should be re-seasoned immediately. Over time, these issues become less frequent as the seasoning builds a consistent, robust layer.